When I received the barrel it came with simple instructions: “Fill the barrel with boiling water for three hours, drain, and fill with beer.” That was easier said than done. I added water and watched it drain out all over my garage floor.
I received the barrel 4 months before I was able to fill it. Plenty of time for the staves to dry out. That doesn’t include how long it was empty prior to the barrel being sold. So now I have a dry leaky barrel that can’t fill with beer.
So I decided to try to force the barrel to be filled. The hot water should swell the staves. I boiled water and continued to attempt to fill the barrel to the top. The leaking continually slowed but did not stop over the following 24 hours. I was topping off the barrel at least every 2-3 hours except overnight.
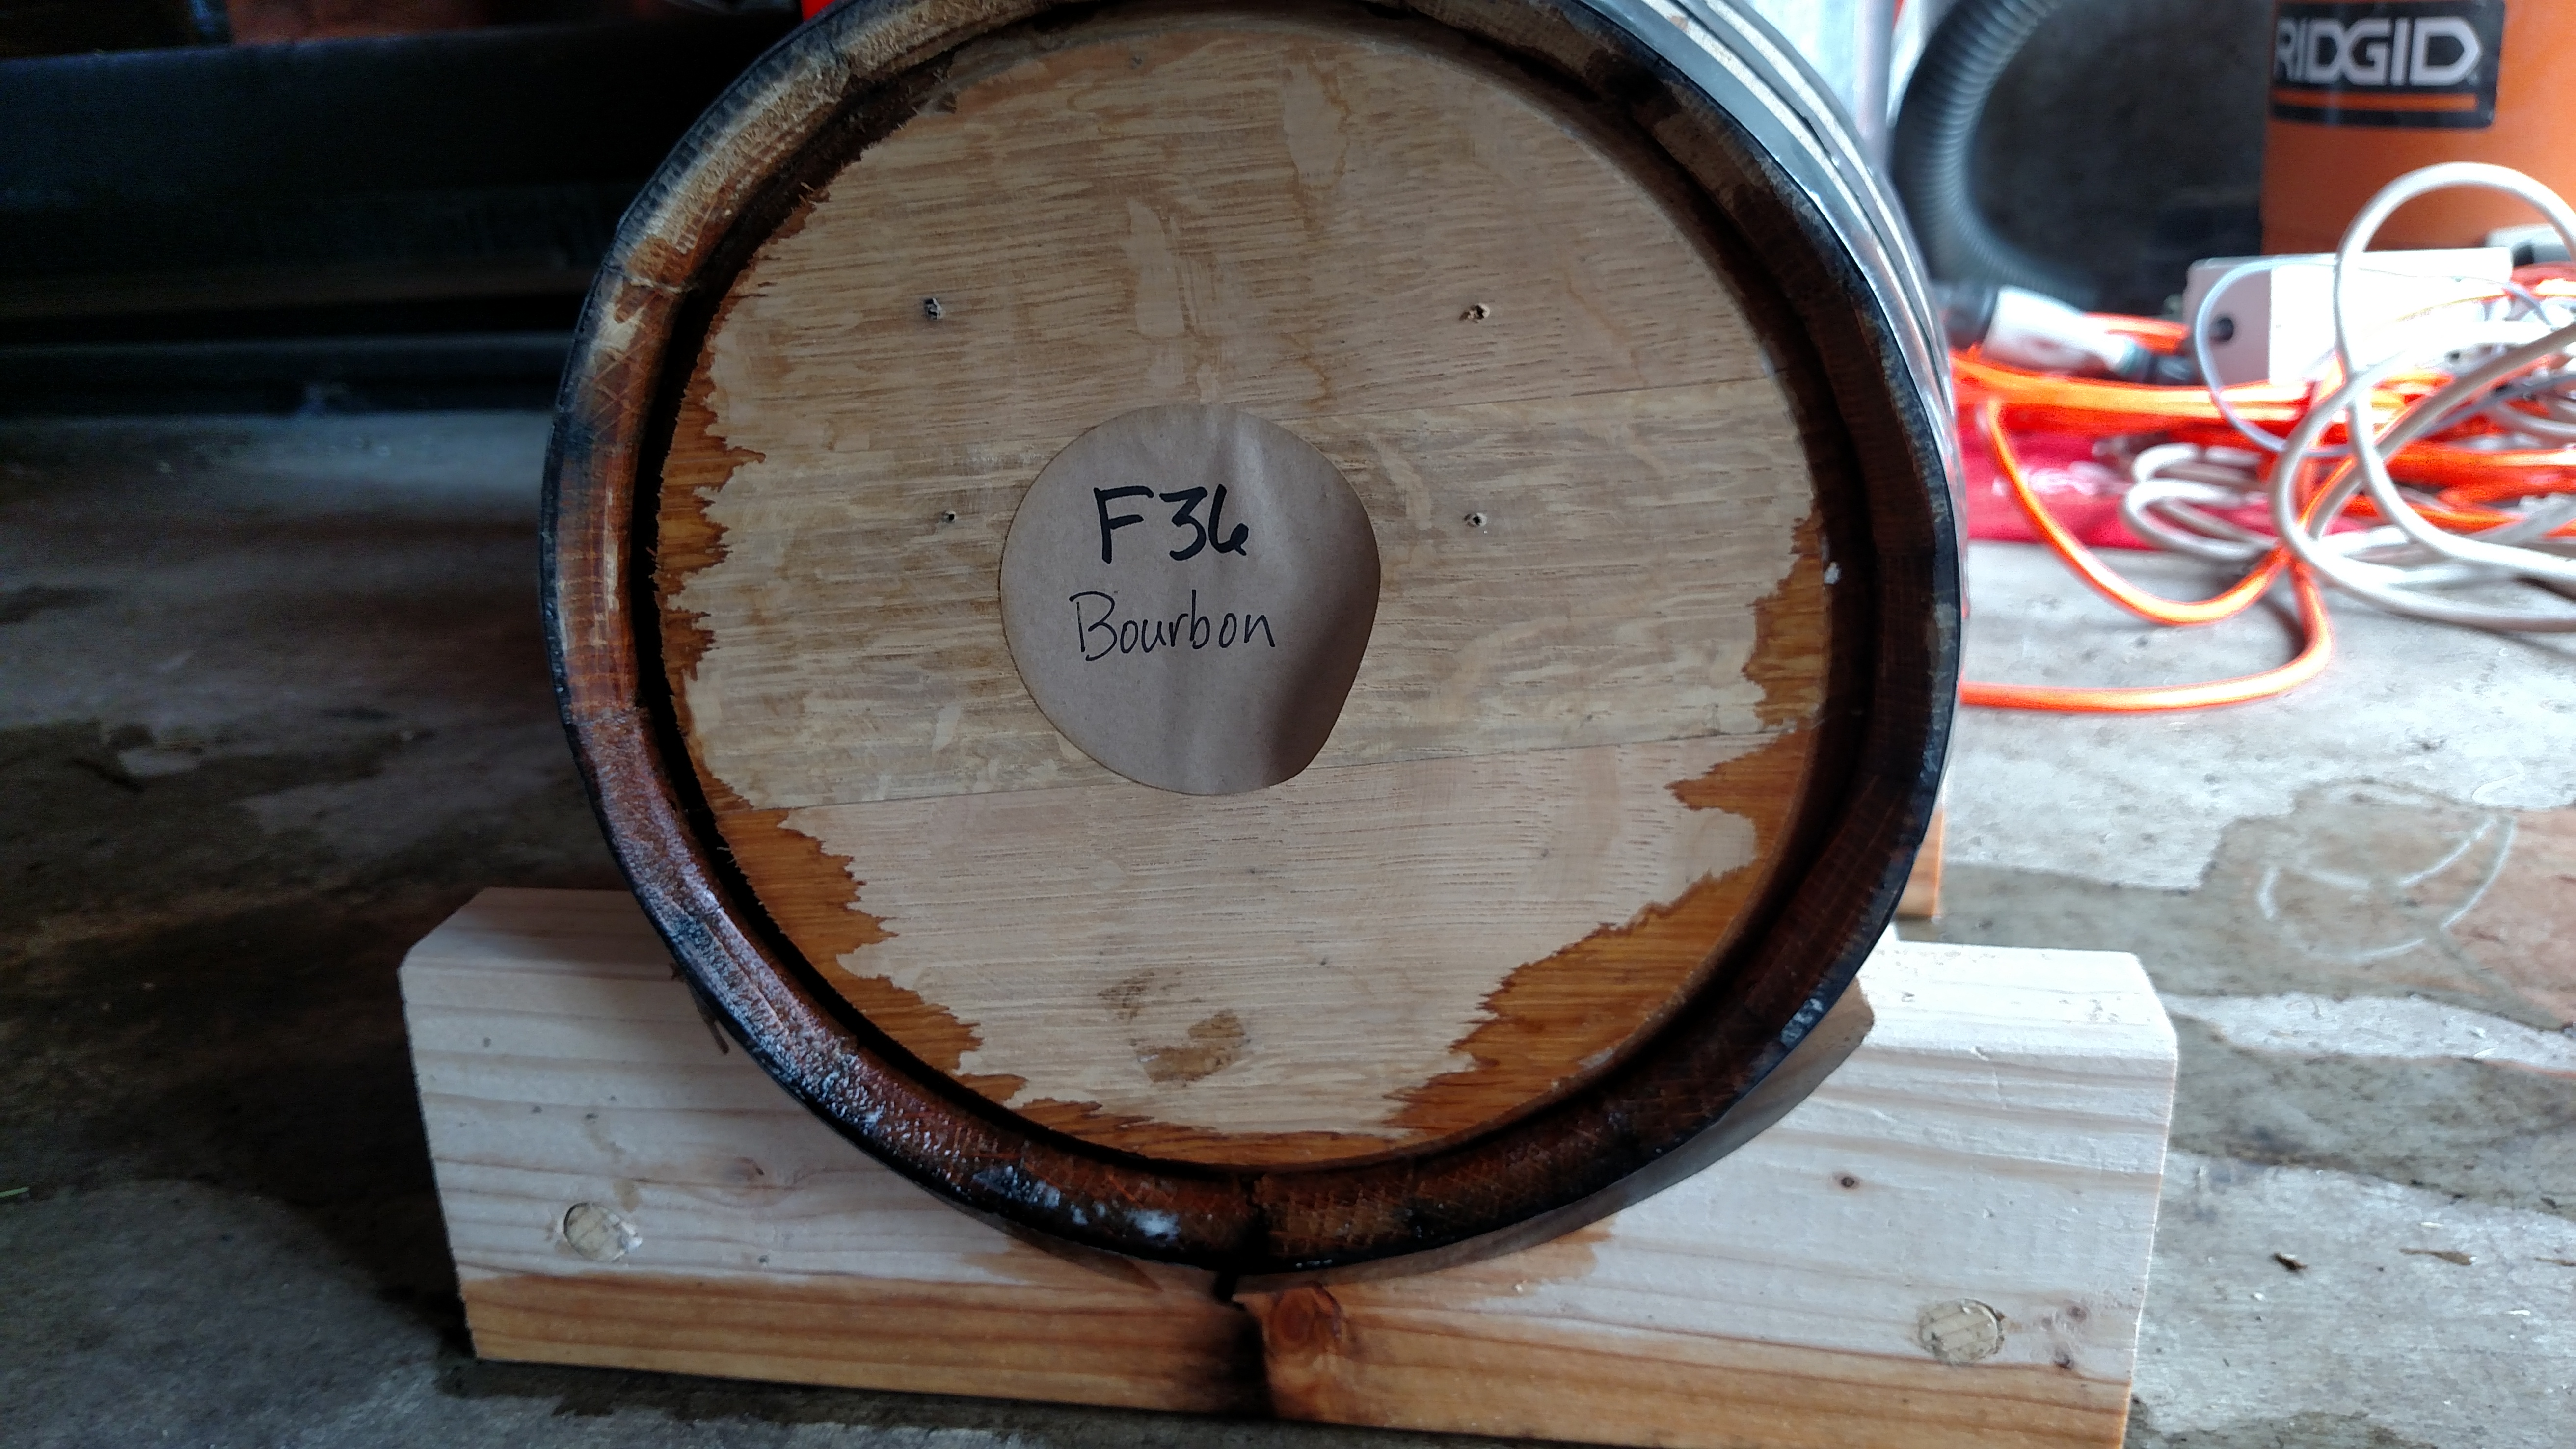
The other thing I was trying was tapping on problem staves with a mallet. This was another solution that the internets taught me. How well this worked is unknown. But it did help me feel better as I smacked the barrel that would not let me put beer in it. I was nervous about hitting it too hard so I’m not sure if I did any real good with the mallet.
So I’m 24 hours in to trying to fill the barrel and I can’t stop the leak. The internet has not been helpful and I’m reduced to putting random words together that are related to barrels to try to find something to help me stop the leak. Finally I came across an article from WineMaker magazine. It contained tips for new barrels and used barrels and at least gave me something new to try.
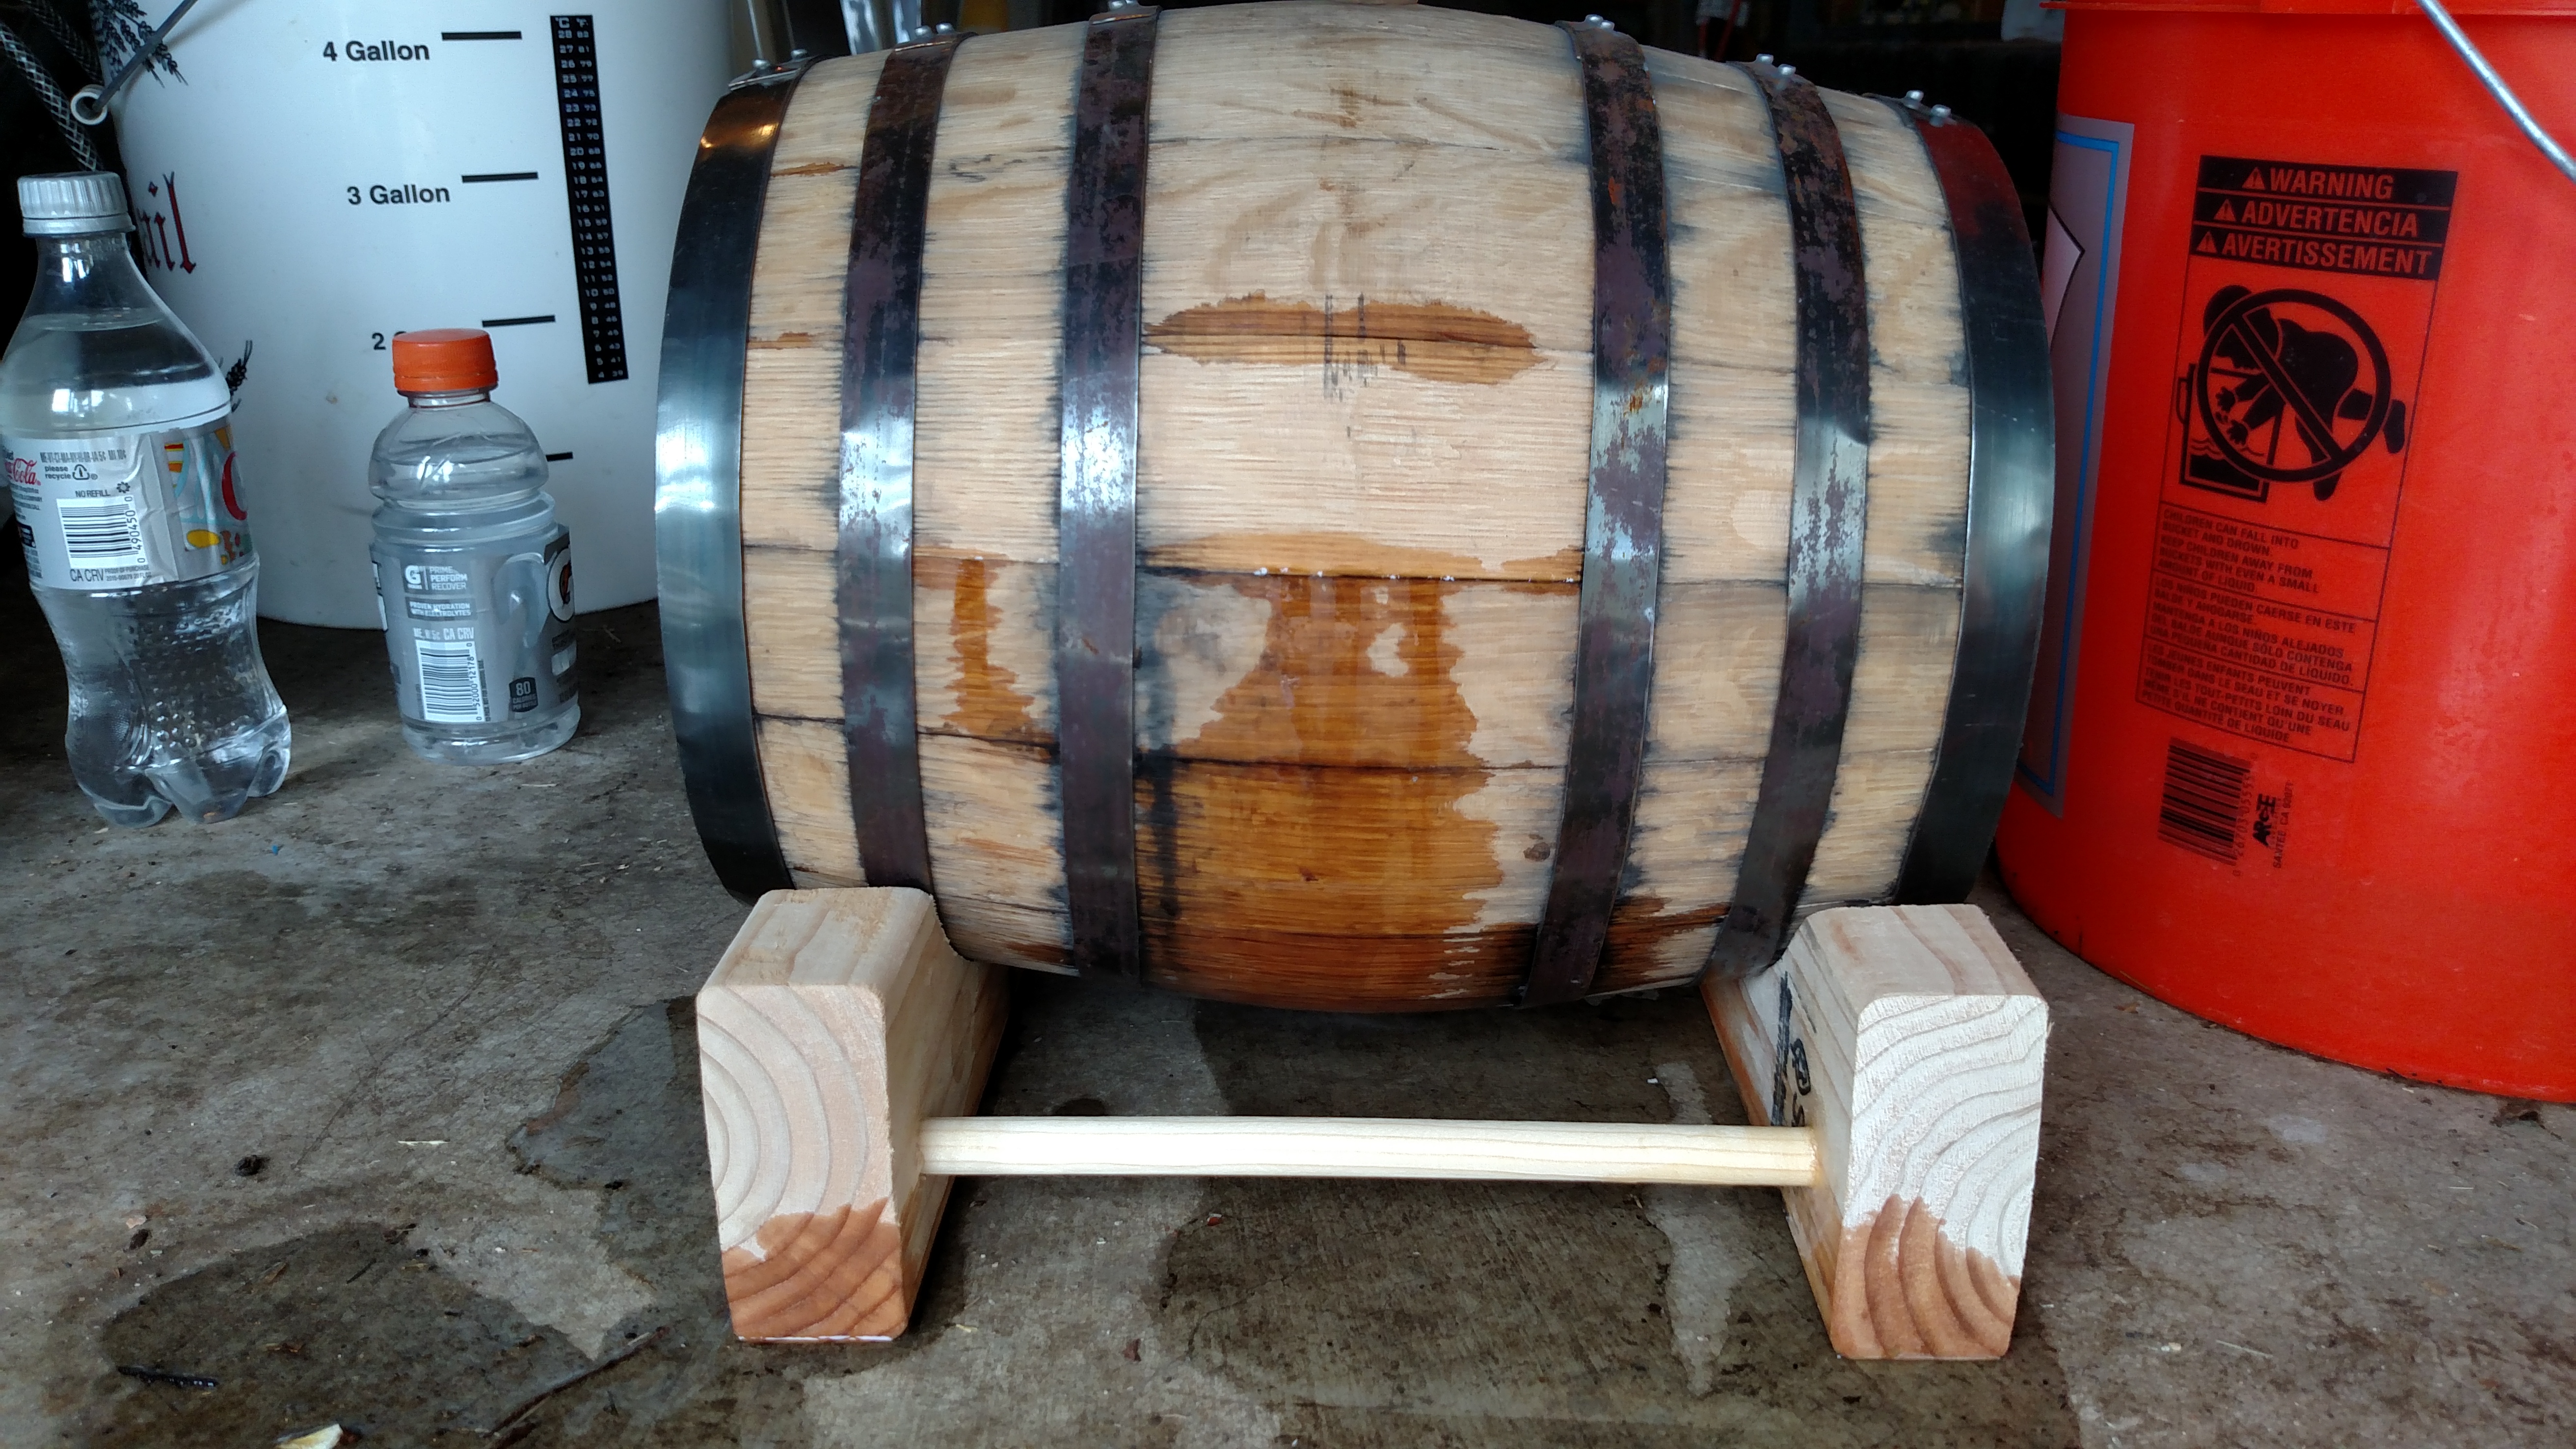
The new technique consisted of filling the barrel about 20% full with hot, steamy water, shaking the barrel to get the steam to penetrate the staves, and setting the barrel on its end to swell the head of the barrel. Repeat for the other barrel head. If that doesn’t work then soak the barrel.
I was already soaking the barrel with only limited success so it seemed foolish not to try it. Before I could do this I needed to empty the barrel. The leak was slowing at this point so the barrel still contained about 2 gallons of water. As I emptied the barrel my garage immediately smelled like bourbon. All of this soaking was stripping the barrel of some of its bourbon character.
Thankfully this new technique finally sealed the barrel. I tested it again by filling it with water. Finally I could drain the barrel and fill it with beer! I had the Russian imperial stout ready in a keg and used my Blichmann beer gun to fill the barrel gently. Being in the barrel would introduce enough oxygen. I wanted to add the beer gently so I did not make the oxygen impact more dramatic.

So if I had to do it over again I would do the following for barrel prep:
- Partial fill with hot, steamy water. Shake the barrel. Set on barrel head. Repeat for opposite head.
- Overnight soak with hot water if needed.
- For obvious gaps or large leaks in the staves try tapping the staves or bands with a rubber mallet.
Now the wait has begun. I lost some of my barrel character through long hot water soaks, but I’m confident that I will still end up with a delicious beer. If anything this may have made the barrel aging process less stressful. I was worried that with the small barrel size it could impart too quickly and become overbearing. After this ordeal I am going to relax and enjoy what the barrel brings.


 As seen in the picture above, the cleaning solution could not drain fast enough and solution was draining out of the racking arm. The pump would drain the cleaning solution reservoir in about 20 seconds. Making a switch to the 3/4 inch fitting a hose would be a purchase for something I would not use at all in the rest of my brewing setup. Part of my new mentality in the brewery is having compatibility and spares throughout my system. Instead of a 3/4 inch tri-clover fitting and hose I am using a 1.5 inch tri-clover elbow. It drains beautifully and I also use it on the outlet of the conical.

 Setup and the actual cleaning is very easy. Attach the elbow to the lower outlet of the conical. Install the CIP fitting in the lid and clamp the lid down. Fill the bucket with 2 gallons of cleaning solution. I use PBW and heat it to between 130 and 150 degrees before adding it to the bucket. Hook up the hose to the pump and CIP fitting and place the pump in the bucket. Open the lower valve and the racking cane valve (to allow extra venting). Plug in the pump and let the PBW do its thing!
 The leg extensions from SS Brewtech make this very simple. The height of the lower port is just above the top of a 5 gallon bucket. The extensions are not necessary though. You could easily just lift the conical onto something to get the right height. I did have an issue with the tubing kinking at the top. I ended up running it through the handle on the side of the conical to give it some support.
 The elbow on the outlet worked wonderfully draining back into the bucket. With the elbow I’m not sure it’s necessary to open the racking cane as SS Brewtech suggests, but it doesn’t hurt anything to have it open so I figure better safe than sorry.
 I let the pump run for about 1.5-2 hours while I took care of some other things around the house. After it was done, I filled the bucket with hot water and turned the pump back on to let it rinse out the conical for a few minutes. It cleaned very well. Happy with the set up.

